
-
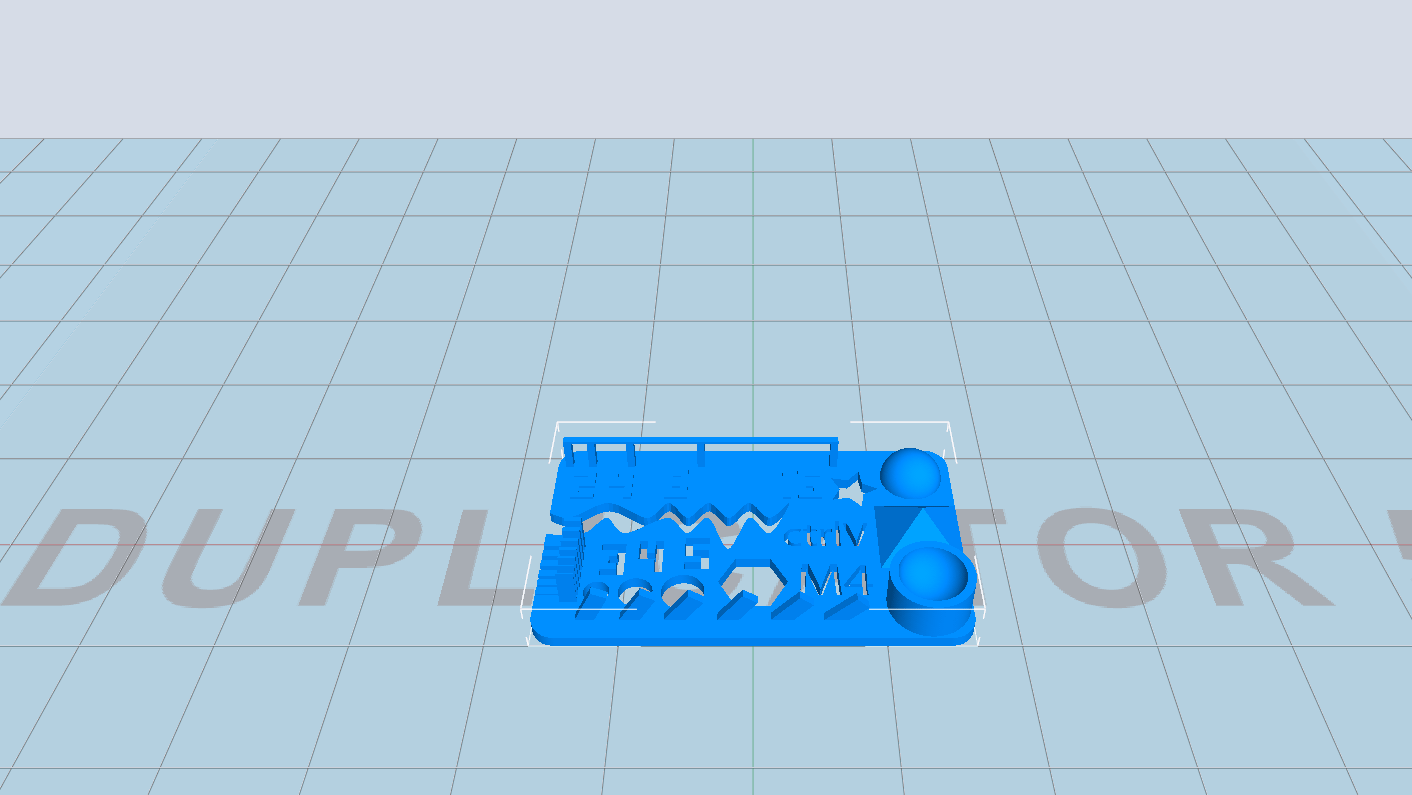
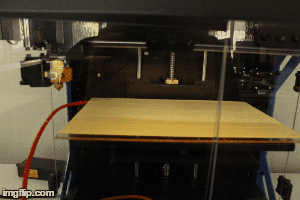
I set a test to find out the capabilities of the 3D Pinter by downloading a Thingiverse file http://www.thingiverse.com/thing:1019228 and then ran it through the Printers software.
- I set the quality of the print in the Wanhao Printer software to "Ultra High" quality.
-
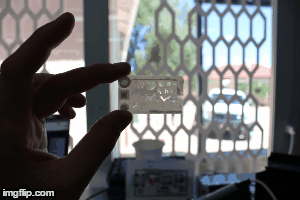
The test print came out quite bad as we think the heated bed settings were too high (70 Degrees) for PLA. So we researched different temperatures on the 3D Printing blogs for ultimate printing conditions and then lowered the temperature to suit the prints in the future. We also will have to find another type of open-source software as bellow you can read up about the pros and cons. We believe that the printer can print at much better quality once we can set the temperatures and speeds.
- I The Whanho 3D Printers have their own software just like many of the other 3D Printing manufacturers but most of the different software’s have serious pros and cons. When creating different prints you need to be able to change a series of print settings such as extruder temperature, bed temperature if you have a heated bed, extruder speed etc. So I will do a pros and cons list on the Wanhao software which you can also download via this link:
http://wanhaousa.com/pages/duplicator-5-software
pros: The software is free, easy to use, you have simple settings like quality (high, medium, low) and you can change the fill (hollow, half or full fill), and lastly there are a few simple updates which are really fast and simple to do.
This software with these features is perfect for schools or home makers.
cons: The issue with the features listed in the pros section is that many or most people (probably the more advanced makers) want to have more control over what they are printing (i.e. setting temperatures and speeds) and this software cannot pre-set the temperatures to the print file, the settings you can only do on the printer once you have sent the print and everything is starting to print. I find this very tedious as you try to race through the printers menus to navigate to the settings you want to change.
By saying that, I am in the process of finding suitable free software were I can slice features, set the temperatures and speeds in the software and not on the machine.
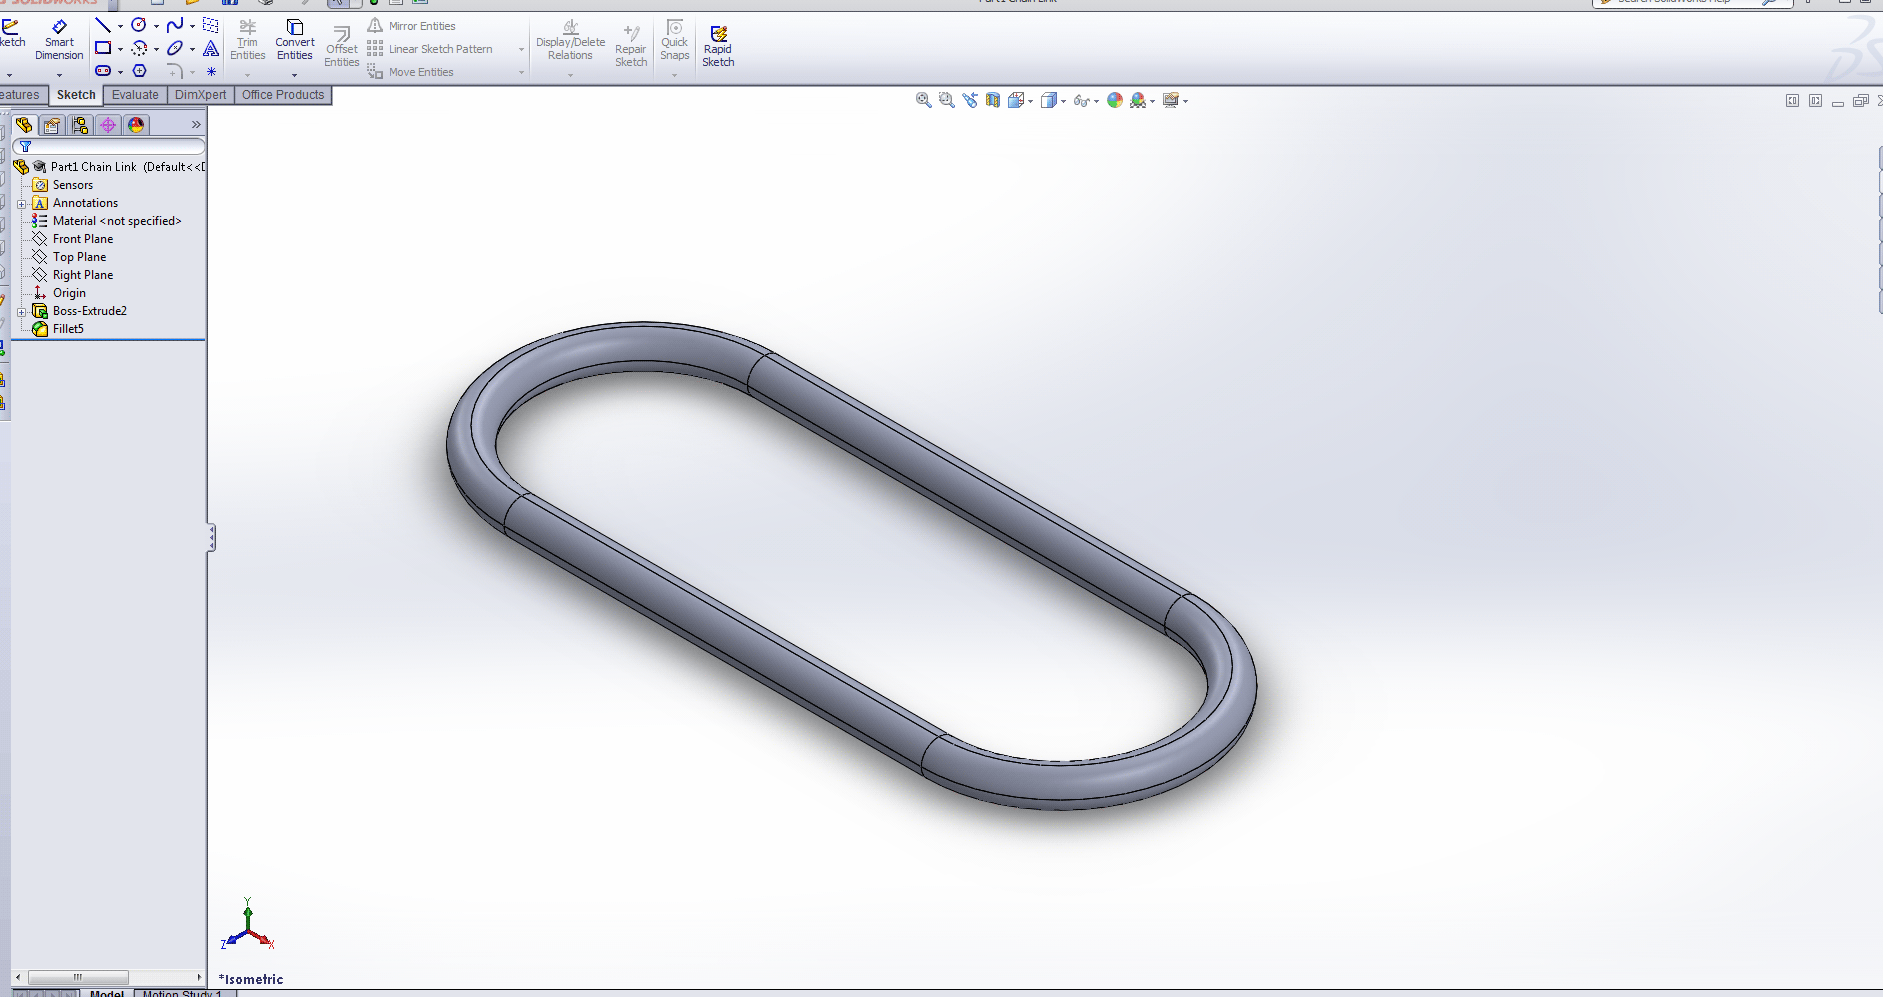
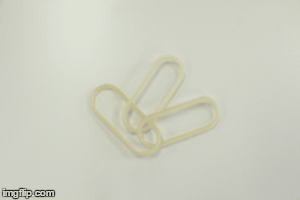
- I created a simple chain link in Solid Works as a part.
- In Assembly in Solid Works I imported the link and duplicated them and used the free move function to position the links so that they don’t touch each other.
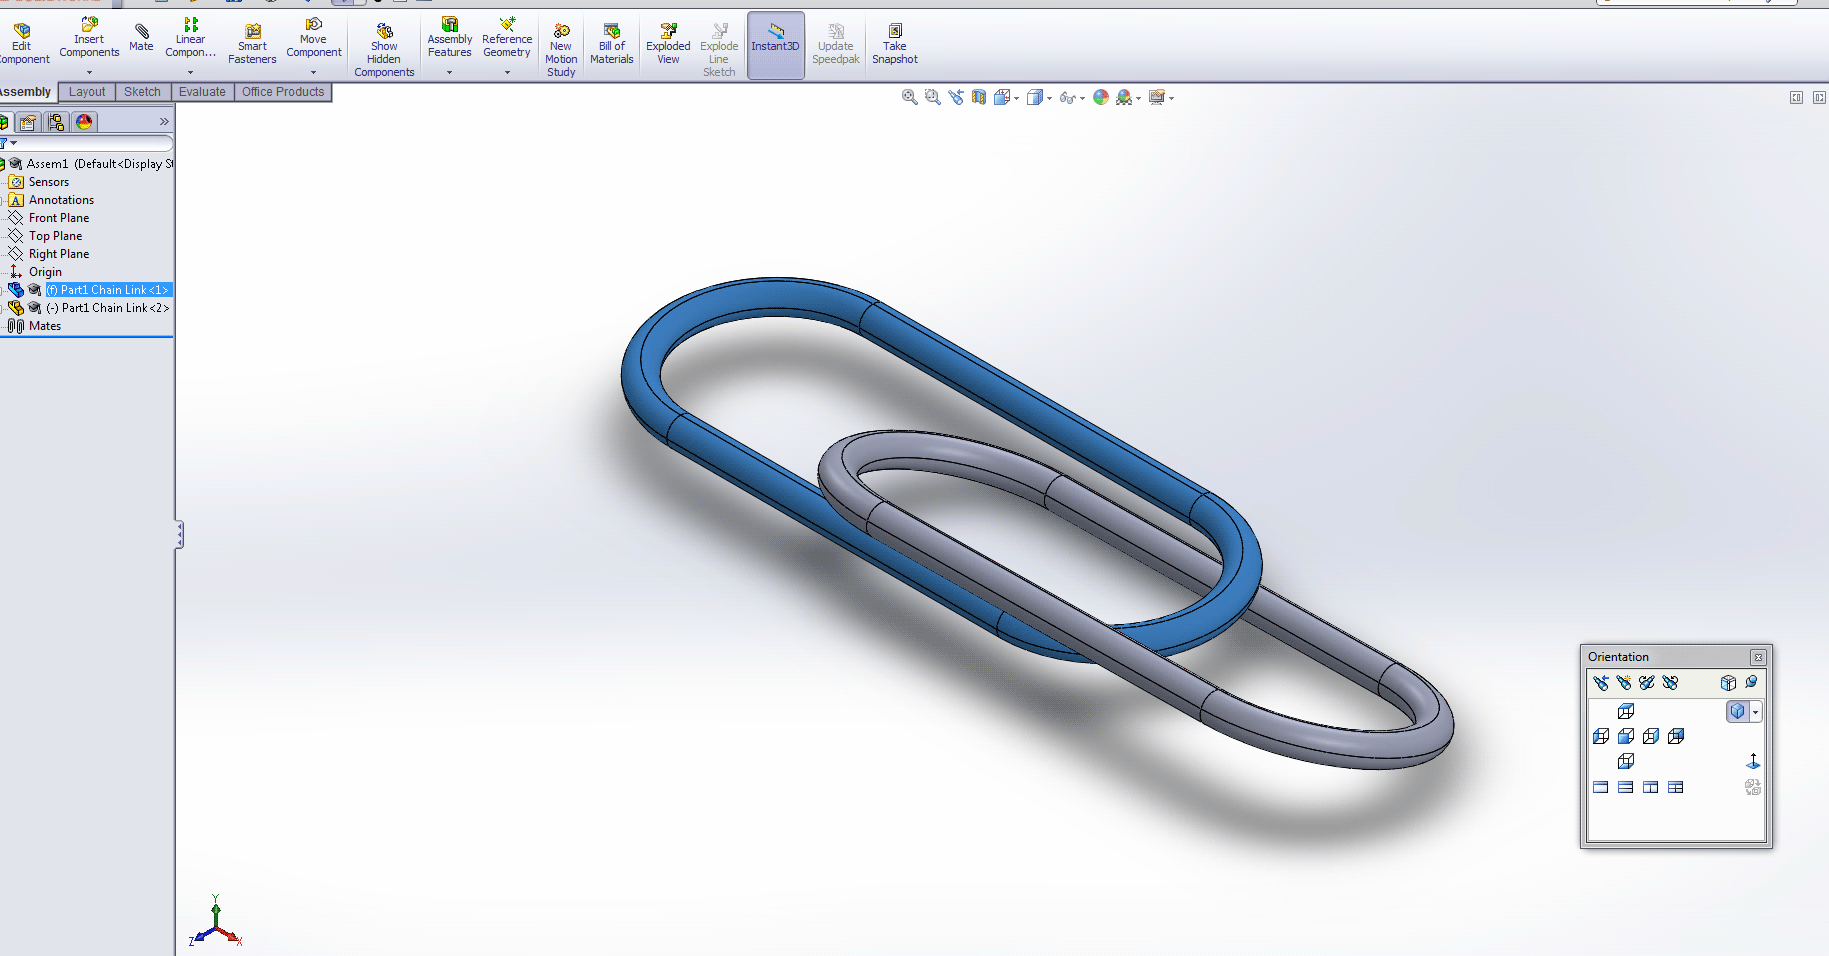
- Final Assembly and exported it as a STL

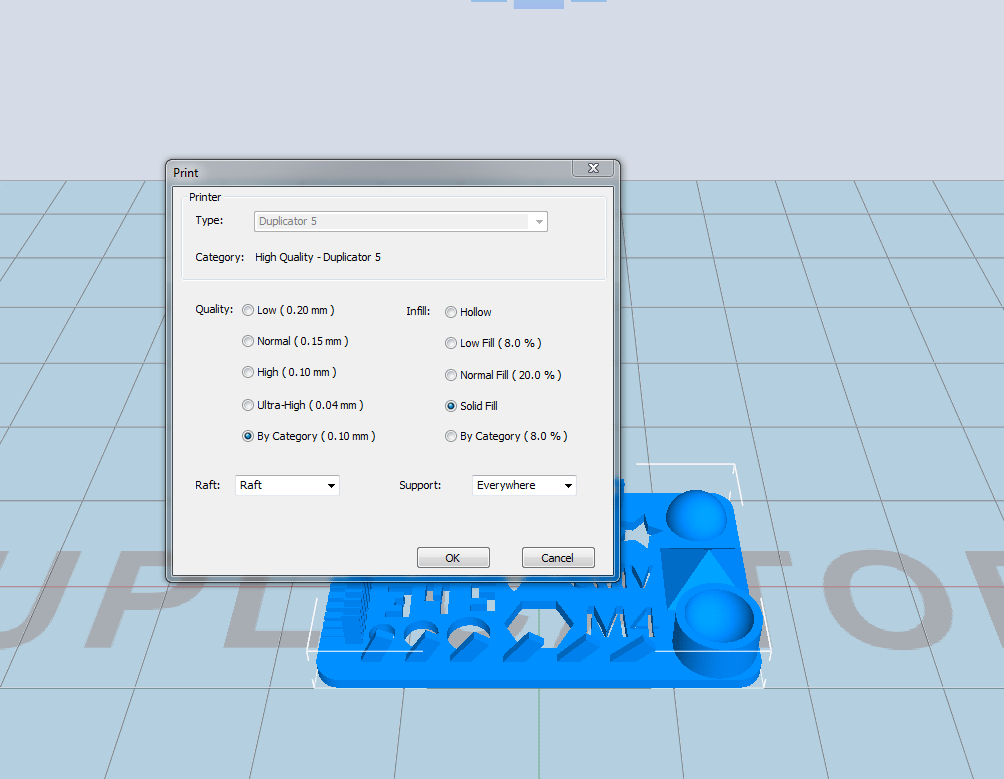
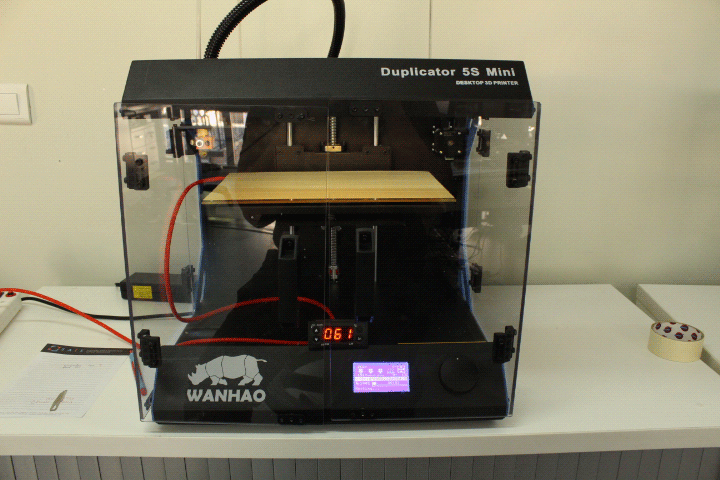
- I then Imported the STL to the 3D Printer slice program (I am using a WANHAO Duplicator 5s Mini 3D Printer)
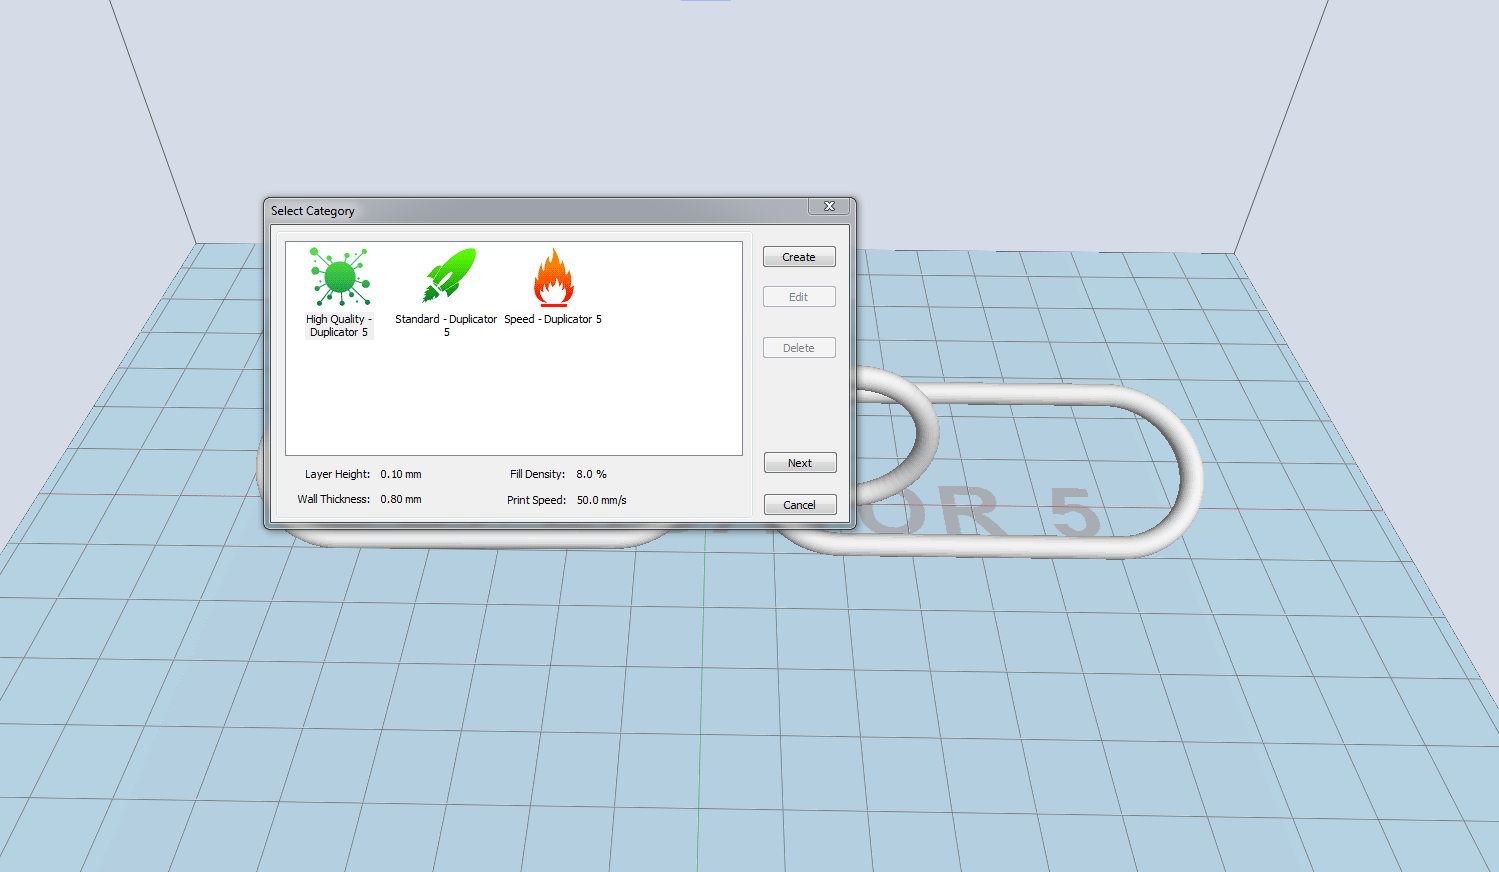
- When slicing the model the program asks you for a series of problems. The quality I set as a solid fill with high quality (0.10mm). I included a raft and support structures throughout my model.

- Once it finished slicing it will give you slicing times, amount of material in grams, time to print and how much it would cost.
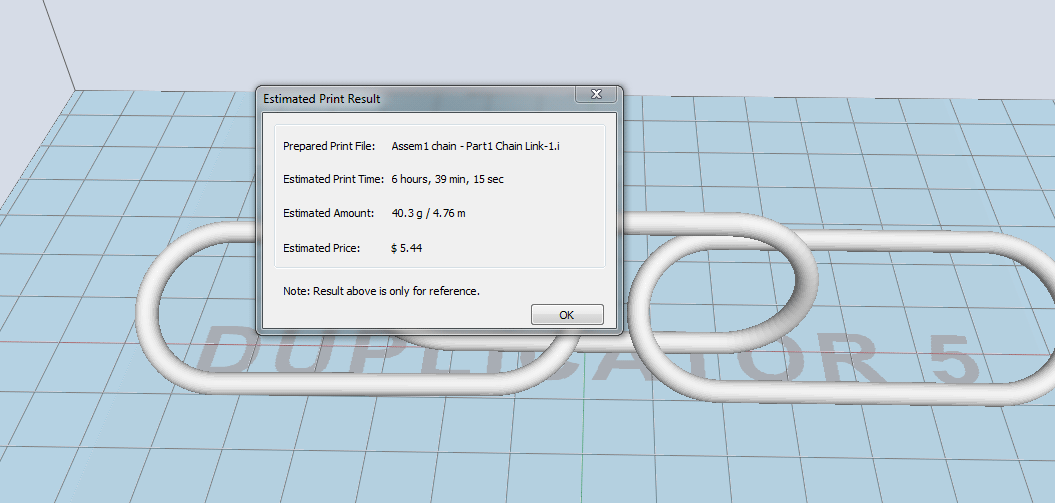
- Slicing complete, here we can see the raft and support structures.

- We are using a WANHAO duplicator 5S Mini with a heated bed (Bed 70 Degrees, Filament: PLA Transparent@ 190 Degrees). To find the perfect temperature settings for various plastics I would recommend researching 3D Printing Blogs as the support there is really good.
http://www.matterhackers.com/articles/how-to-succeed-when-printing-in-pla
-
- Preparing the bed with masking tape (cheaper than kapton tape)
- finished
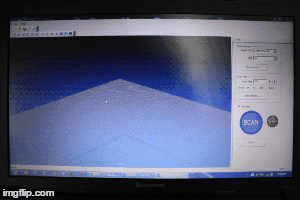
- The scanner we used is the Roland Picza LPX-600
http://www.rolanddg.co.uk/products/reverse-engineering/lpx-1200_600_60/
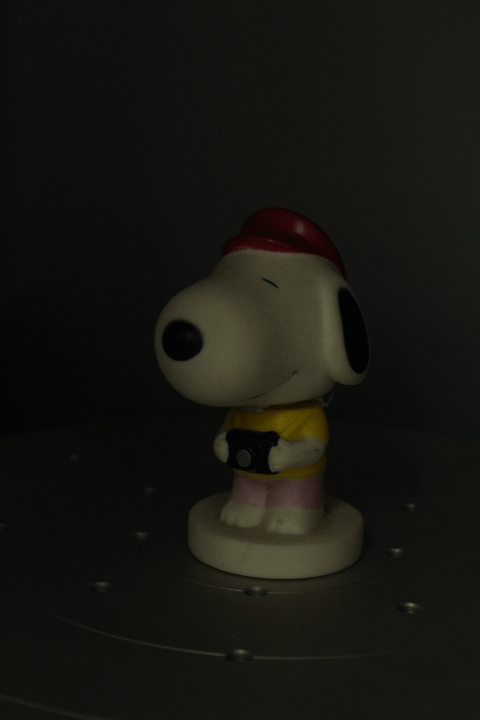
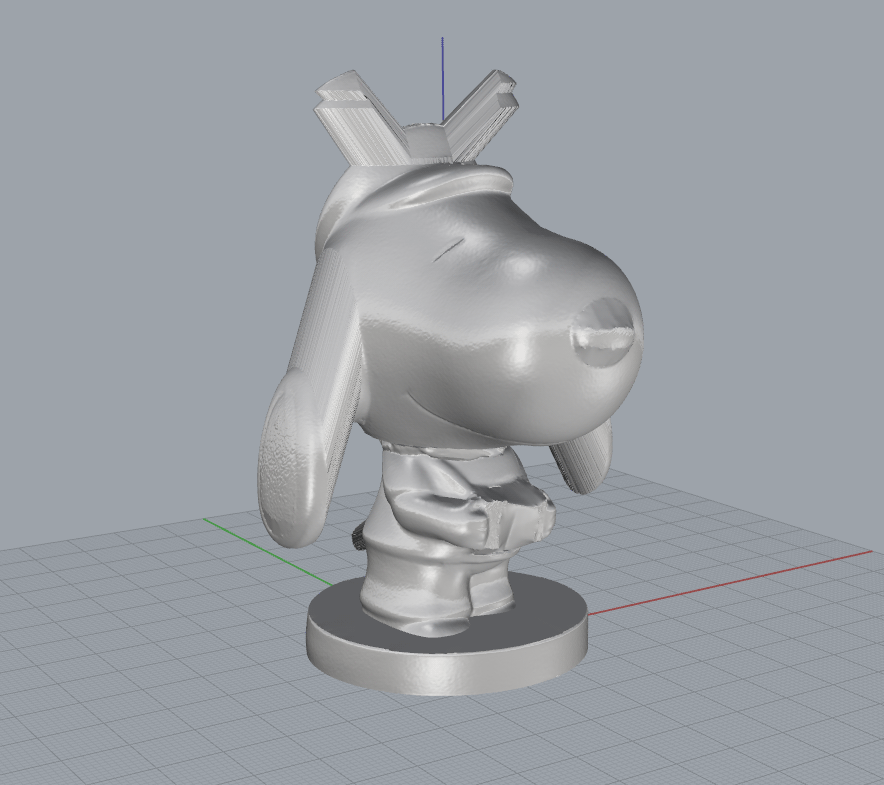
- I decided to scan Snoopy
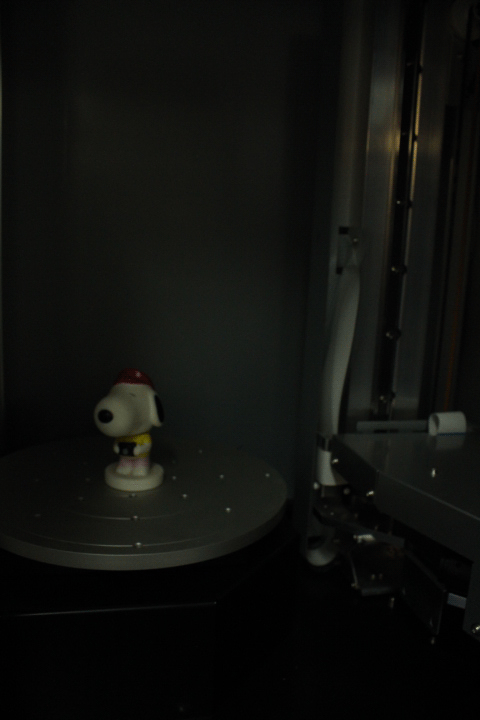
- I wanted to see how snoopy would scan as it has many overhangs and a few different textures.
- Setting up the software and starting the scan, it took about an hour to scan
- I exported the STL model as a mesh and imported it into Rhino
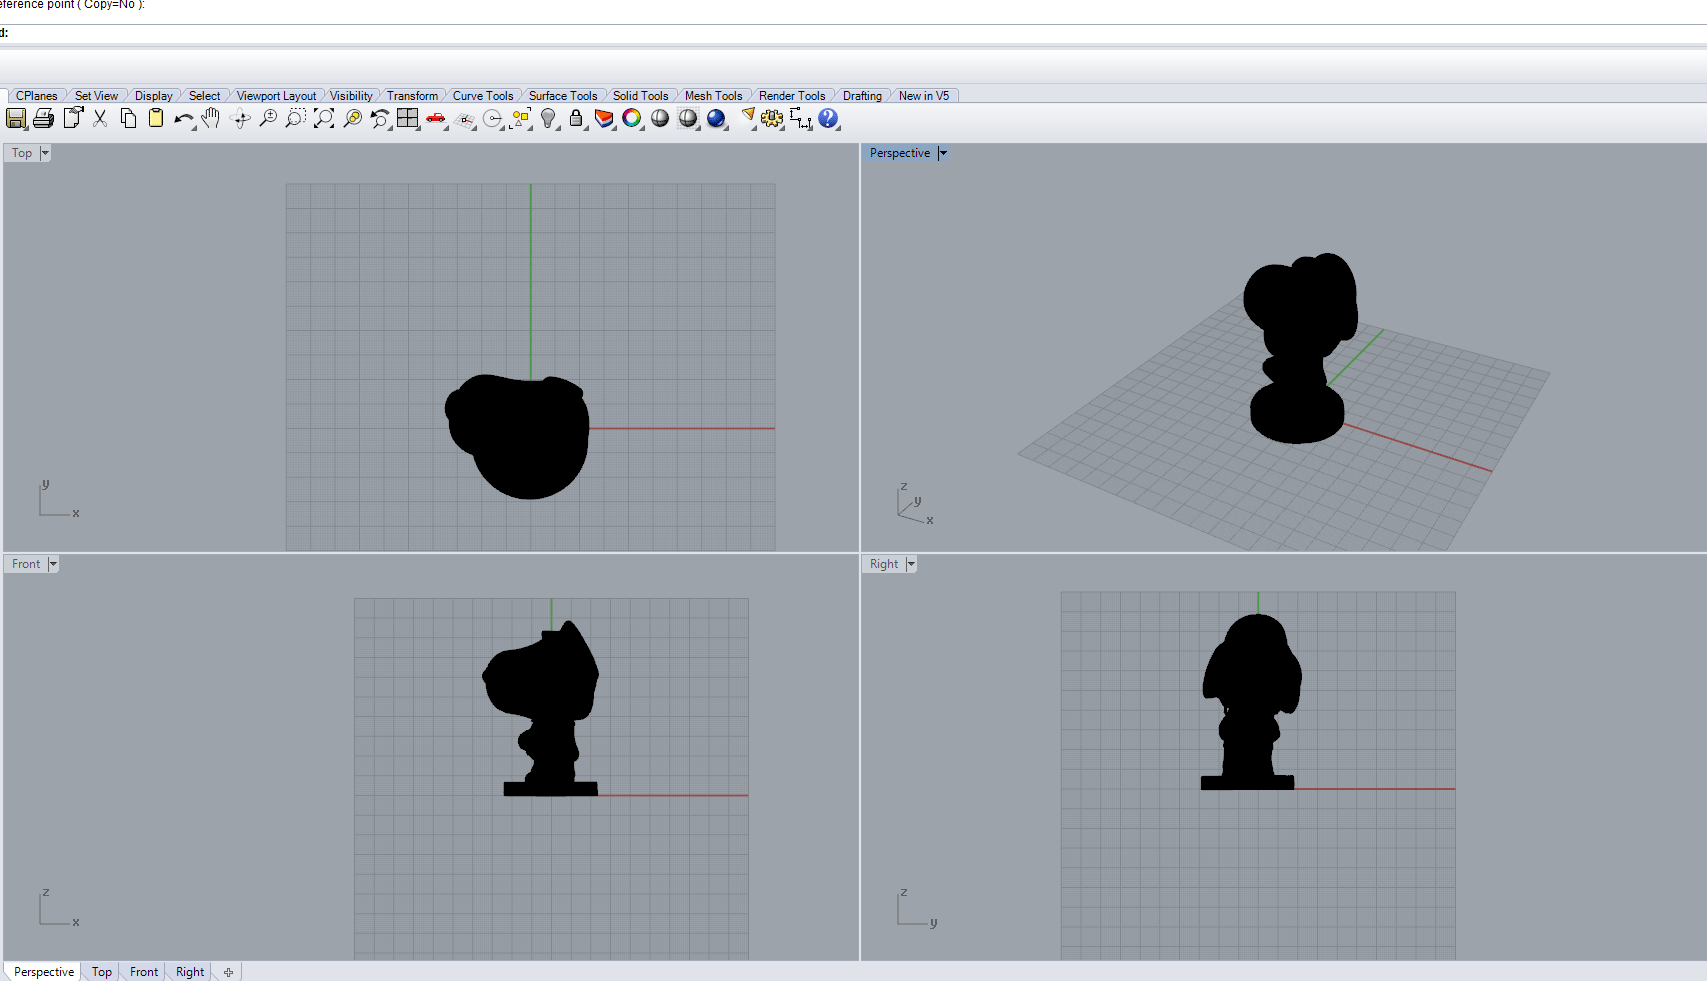
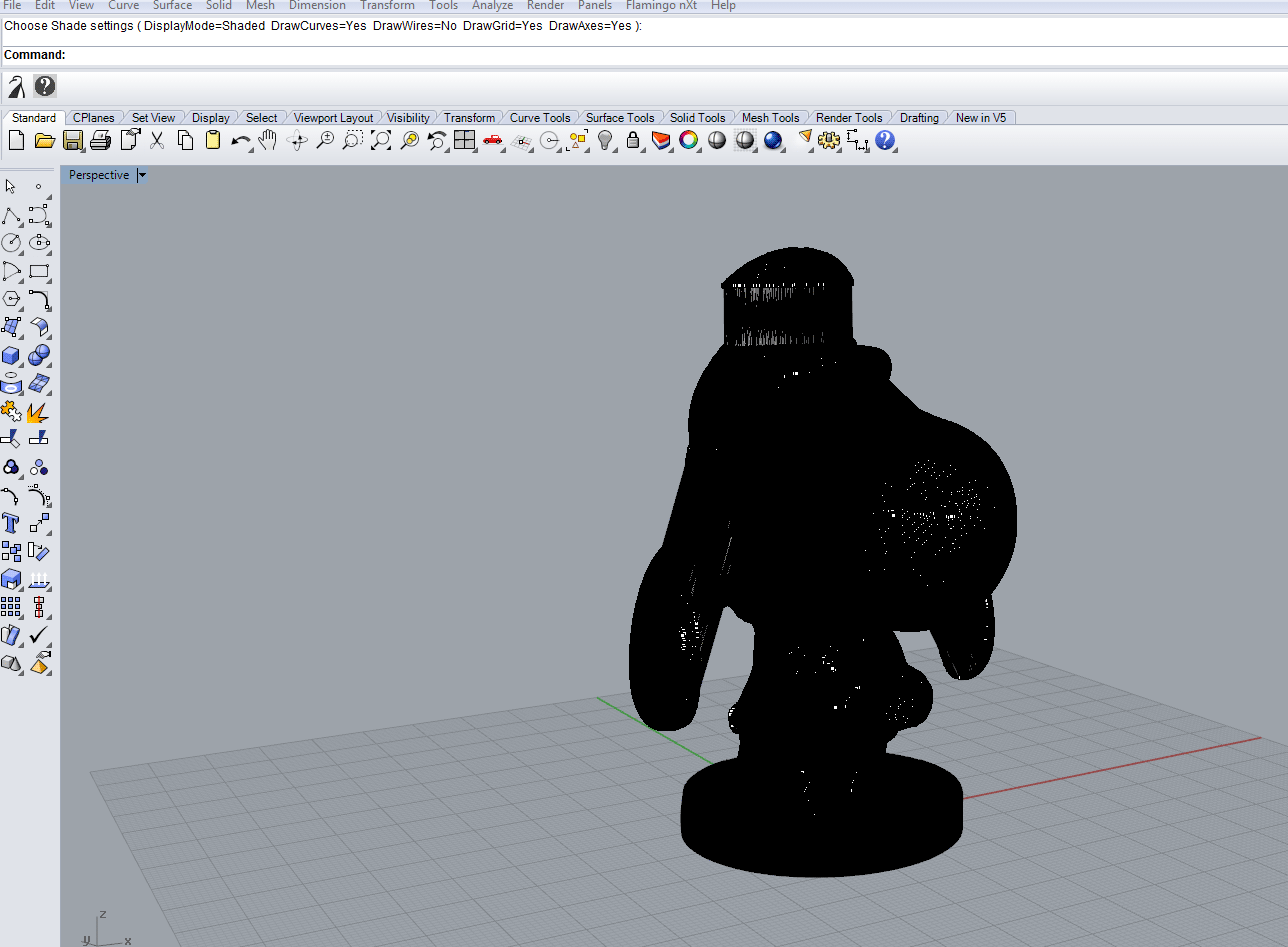
- Shaded view point of the mesh (the scan came out quite nicely)

- In Rhino there is a function to turn on control points which cover the mesh and allows you to morph and change the model.
- I am making a Viking Snoopy
- Snoopy needs a sword
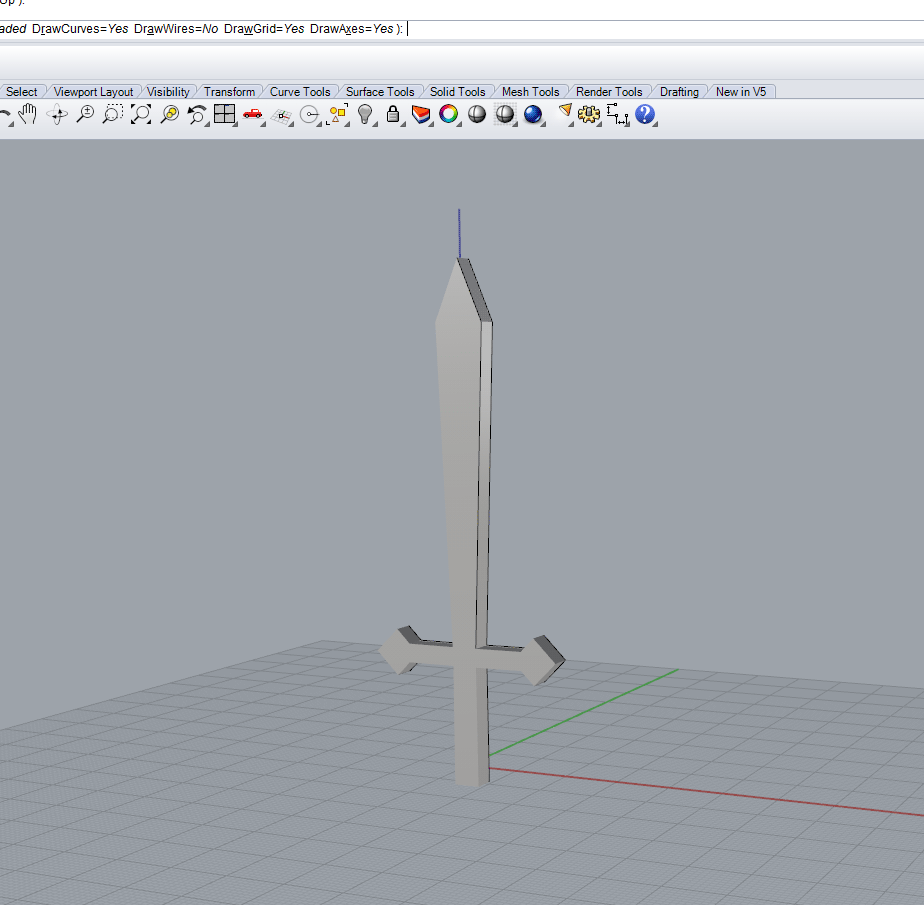
- Viking Snoopy with sword ready to print
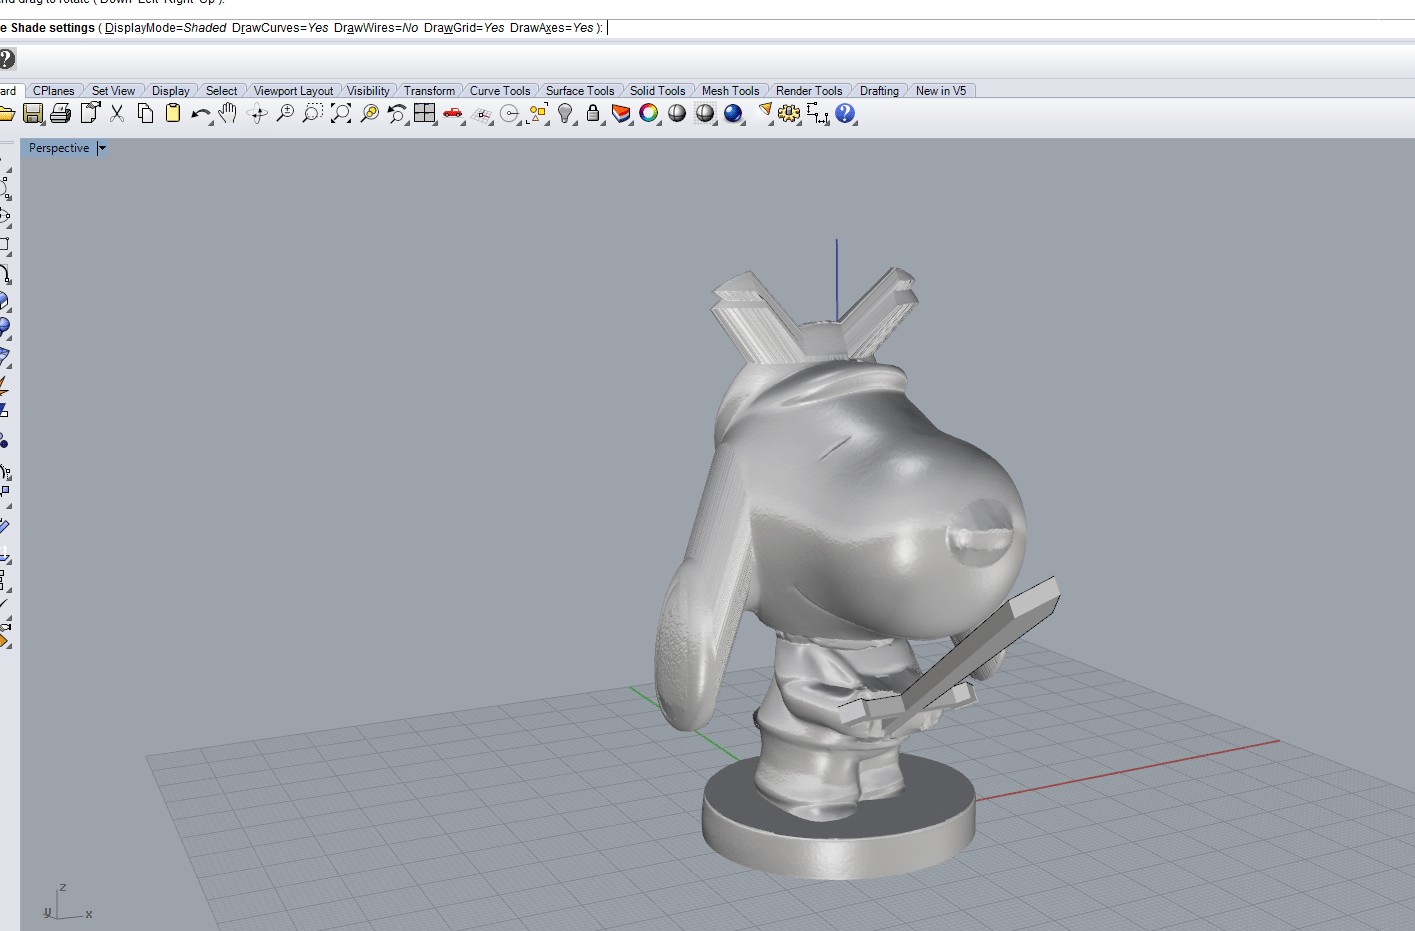
- the Final Print of my scan

3D Printing Testing the machine (Group Project)
The software
3D Printing My Project
3D Scanning
otherIssues I had and am still having
- NONE...I HOPE...
Downloads
-
 .
.